

More Support for Your Motherhood Journey



How to Choose the Best Nipple Shield for Breastfeeding
Searching for the best nipple shield gives you a list of brands, which is the wrong answer to the right question. Fit, silicone thickness, shape and whether the thing stays on are what decide if a shield works for you. Here is how to size one properly, how to apply it so it does not slide, and how to check it is actually moving milk.
Written by Le Lolo | Medically Reviewed and Verified by Katie Clark, IBCLC | Updated September 2026
When you search for the best nipple shield, you’ll find plenty of recommendations for different brands and products. But the brand name should only be part of the decision making process.
A nipple shield that doesn’t work well with your body, your baby, and the reason the nipple shield is being used can hurt more than it helps. On the other hand, the right nipple shield can be a helpful tool for breastfeeding, regardless of the brand.
So instead of asking, “What is the best nipple shield?” a better question is: “What makes a nipple shield right for me?”
Here’s what to look for, starting with the most important factor: fit.
Choosing The Best Nipple Shield? Start With Size
Nipple shields typically come in several sizes, with 16mm, 20mm, and 24mm being some of the most common. The size refers to the diameter of the inner tunnel—not the width of the entire shield.
There is debate amongst lactation professionals on which size is ideal - some will recommend a size much larger than your nipple diameter to encourage a wider gape for the infant, while others find that a size that allows the shield to be more similar to your actual nipple is preferable. It’s important to work with a lactation professional to determine which approach is best for your situation.
Regardless, the right size should give your nipple enough room to move comfortably inside the tunnel without rubbing against the sides or sitting too loosely. There should be more discomfort, rubbing, or friction with the nipple shield you are using.
If you’ve guessed your size before and gotten it wrong, you’re definitely not alone. It can be surprisingly difficult to estimate by eye.
Another common misconception is that your flange size is the same as your nipple shield size. This is not the case.
How To Measure
Our Nipple Shield Sizing Guide makes measuring easy, or you can use a ruler with millimeter markings, a circular sizing ruler, or calipers. Measure across the base of your nipple only, not the areola. It’s best to measure when your nipple is erect, since that more closely reflects its size during a feeding.
If your nipple is oval rather than round, use the larger of the two measurements.
As a general starting point, add approximately 4mm to your nipple measurement when choosing a shield size:
-
Around 12mm → 16mm shield
-
15–16mm → 20mm shield
-
Around 20mm → 24mm shield
Lactation consultants often use this “add 4mm” guideline as a starting point and then adjust based on how the shield feels and how the feeding goes.
Keep in mind that sizing isn’t always one-size-fits-all. Swelling during the first few days after birth can temporarily change your measurements, and engorgement can affect them, too. If you were sized in the hospital, it may be worth checking again once things have settled.
Sizing can also vary between brands, so a 20mm shield from one company may not fit exactly like a 20mm shield from another. And always remember, if it’s uncomfortable or causing damage, that’s not the right option for you.
Signs your size may be off
Your shield may be too small if you notice:
-
Rubbing, pinching, or a nipple that looks compressed or misshapen after a feed
-
A white or purple ring around the base of your nipple after removing the shield
-
Your nipple pressing against the holes at the tip
-
Little to no space remaining at the top of the tunnel before your baby even latches
Your shield may be too large if you notice:
-
More than about 2mm of space on either side of your nipple inside the tunnel
-
The shield slides around or won’t stay in place even when applied correctly
-
Milk pooling or leaking from the shield instead of flowing into your baby’s mouth
-
Too much areola being pulled into the tunnel
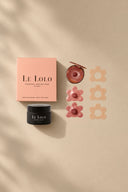
This is one reason our Perfect Fit Kit includes 16mm, 20mm, and 24mm shields rather than asking you to choose a size without trying it. As mentioned previously, you can also use our Nipple Shield Sizing Guide to help determine where to start.
Look at the material
Most modern nipple shields are made from silicone, which is a good thing. Earlier shields were made from materials including lead, wax, pewter, glass, and thick rubber. The shift to silicone has been an important improvement in shield design.
Ideally, look for 100% pure, food-grade or medical-grade silicone that is hypoallergenic.
One thing worth knowing: silicone doesn’t contain BPA to begin with, so “BPA-free” isn’t necessarily a differentiating feature when you’re comparing silicone shields. What matters more is the quality, thickness, and flexibility of the silicone.
Thin and flexible matters
The thickness of the shield can make a meaningful difference. Research on older, thicker nipple shields found substantial reductions in milk transfer with some designs. Modern thin silicone shields perform differently, and research has found that thin shields can support effective milk transfer.
A thinner, more flexible shield can also allow more sensation through during a feed, which may be more comfortable for you and your baby. This is why we designed our shields to be thinner and more flexible than the clear shields that are currently on the market.
If a shield feels stiff, thick, or overly plasticky, pay attention to that. The feel of the silicone matters.
Consider the Design
Nipple shields generally come in a few different designs. Some form a full circle around the breast, while others have a cutout on one side.
That cutout is designed to allow your baby’s nose and chin to have more direct contact with your skin during a feeding.
And that small detail can matter. Reduced skin-to-skin contact is one of the commonly cited downsides of nipple shields, while skin-to-skin contact is especially valuable during the early breastfeeding period. Allowing your baby to have their mouth touch the breast can also make it easier to transition away from a shield.
Neither design is necessarily right or wrong. But if maintaining as much skin-to-skin contact as possible is important to you, a cutout design may be worth considering.
Does Nipple Shield Shape Matter?
Nipple shields come in several shapes, and some babies respond better to one than another.
Conical shields taper gradually and may work well for babies who need help maintaining a deeper latch.
Cherry-shaped or more rounded shields provide additional space near the tip, which may be helpful for babies who prefer a fuller shape or have difficulty drawing a narrower shield deeply into the mouth.
Bottle-shaped shields have a longer, more defined nipple and may feel familiar to babies who are accustomed to bottle-feeding.
There is no single shape that is best for every parent and baby. The ideal shield should fit the parent comfortably, allow the baby to latch deeply, support effective milk transfer, and avoid slipping, pinching, rubbing, or leaving the nipple compressed after feeding. Because nipple shields can affect latch and milk transfer, choosing a shield and monitoring its use with a lactation professional can be helpful.
Make sure it stays in place
This is one of the biggest practical considerations when it comes to shields that many new parents don’t even consider.
A nipple shield that slides around or falls off during a feeding can quickly turn an already challenging moment into a frustrating one.
Before assuming the shield itself is the problem, check your application technique. Many moms are never properly shown how to put one on.
Here’s the technique commonly recommended by lactation professionals:
-
Flip the shield about halfway inside out so the tunnel creates a small dimple.
-
Center that dimple over your nipple.
-
Roll or stretch the brim back down onto your areola, beginning on the side where your baby’s chin will rest.
-
Smooth the edges outward to remove any air pockets underneath the brim.
-
If you’re still unsure, watch our nipple shield application video to see exactly how to put on your nipple shield.
Warming the shield under warm water can make the silicone more flexible, and lightly dampening the brim can help it adhere to your skin. Flipping the shield inside out also helps draw your nipple into the tunnel, which is why applying it completely flat can make it more likely to slip.
Your skin can also make a difference. Very dry skin may affect how well the shield grips, while nipple balm or oil can make it harder for the shield to stay in place.
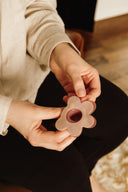
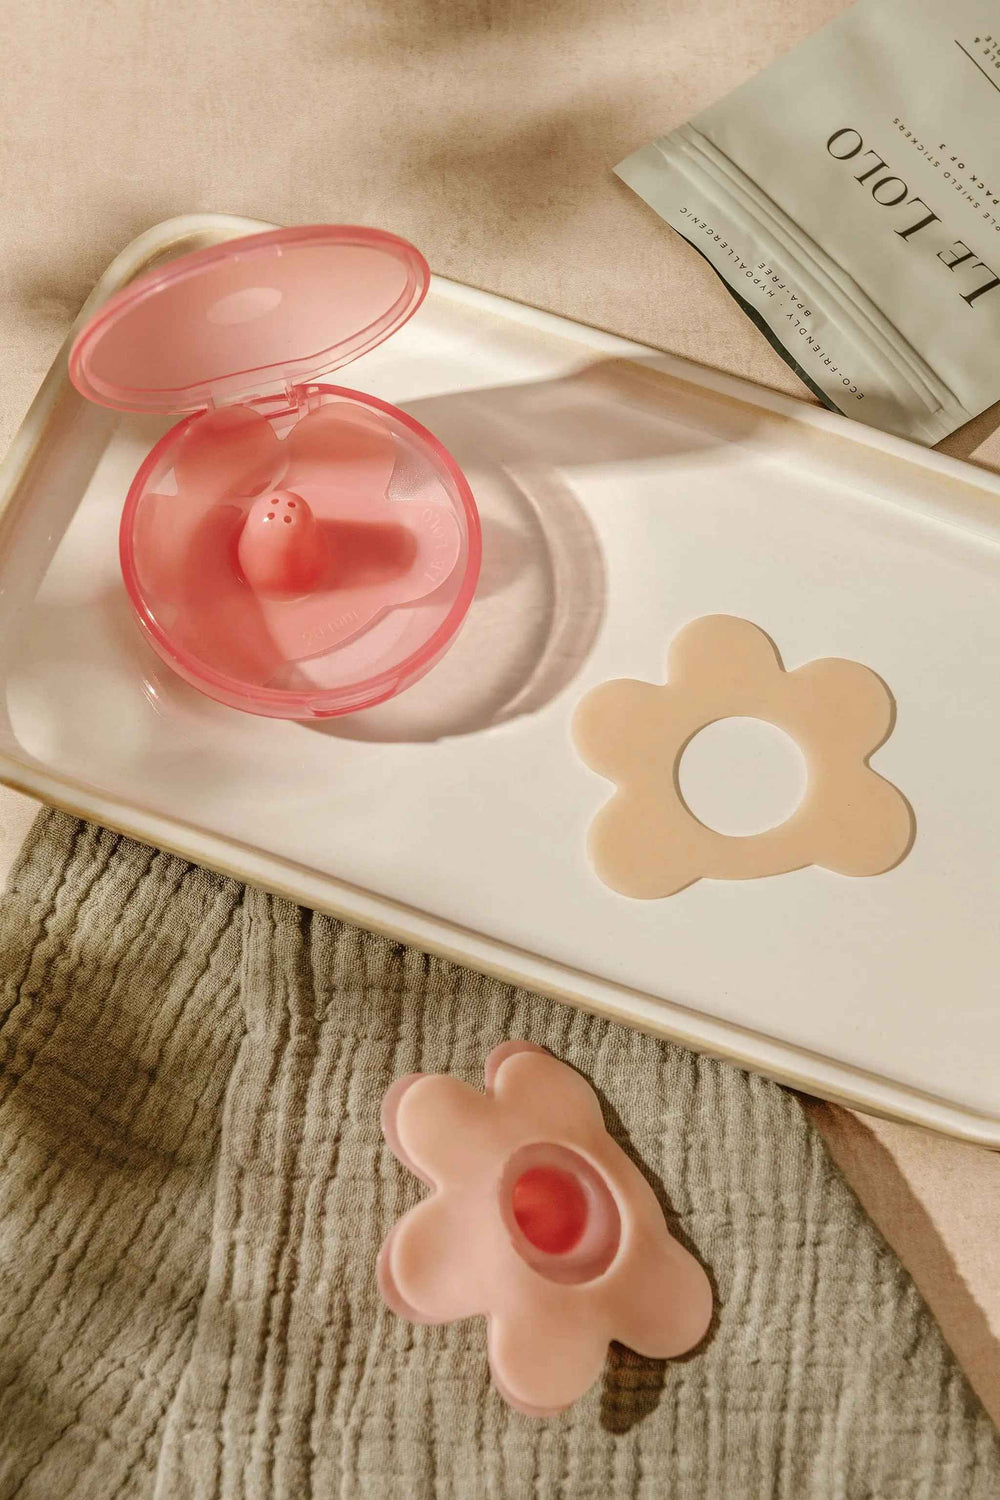
If your shield fits well but still moves during feeds after these tips, our Nipple Shield Stickers are 100% silicone, double-sided stickers that stick to your shield and then your breast to keep it in place. They’re designed to work with any nipple shield, not just ours.
Make sure your nipple shield is actually working
A shield can fit comfortably and stay in place, but it still needs to help your baby effectively transfer milk. This is one of the most important things to monitor.
During a feeding, look for movement in the breast tissue behind the shield and listen for swallowing. After the feed, you may also see milk in the tunnel.
Over time, keep an eye on your baby’s wet diapers and weight gain. For a baby past the first week, fewer than six wet diapers in a day is a reason to contact your healthcare provider that day. Weight checks are another important part of making sure your baby is getting enough milk.
And remember: breastfeeding shouldn’t be painful just because you’re using a nipple shield.
If feeding is still painful with the shield in place, the shield may not be addressing the underlying issue. Pain can be a sign of a shallow latch, and placing a shield over a shallow latch doesn’t necessarily correct the problem.
If you’re experiencing ongoing pain or are concerned about milk transfer, a lactation professional can help assess what’s happening.
Think about cleaning and storage
A nipple shield needs to be cleaned regularly, which also means having a clean place to store it between feeds.
Current guidance for feeding items is fairly straightforward: rinse the shield under running water after a feeding, then wash it with dish soap and warm water as soon as you can. If your baby is under two months old, was born prematurely, or has a weakened immune system, sanitize feeding items at least once a day.
You can sanitize a nipple shield by boiling it for five minutes or by using a dishwasher with hot water and a heated dry or sanitizing cycle. Allow it to air dry completely before storing it.
For a healthy, full-term baby at home, washing with hot, soapy water or using a hot dishwasher cycle is generally sufficient.
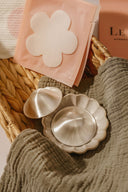
It’s also a good idea to keep your shield somewhere clean and dry rather than loose in your diaper bag. A Nipple Shield Case makes this easy.
And never cut or trim a silicone nipple shield to change its shape. A cut edge can be sharp and uncomfortable against both your skin and your baby’s mouth.
These details may seem small, but when you’re feeding a baby at 3 a.m., the little things can make a surprisingly big difference.
Common questions
Does using a nipple shield mean I’m failing at breastfeeding?
Absolutely not.
A nipple shield is simply a breastfeeding tool—much like glasses are a tool for your vision. For some moms, it can be the thing that makes breastfeeding possible or more comfortable.
Research has found that 86–89% of mothers who used a nipple shield reported that it helped them continue breastfeeding.
Some moms use a shield for a few weeks and eventually wean from it. Others use one throughout their entire breastfeeding journey. Both are completely valid.
It’s important to work with a lactation consultant to determine the reason why a shield is being used, and if desired, a plan to wean away. While nipple shields can improve breastfeeding rates, they can be over recommended without any indication of why it’s needed.
How long can I use a nipple shield?
There’s no universal time limit.
In studies of nipple shield use, the median duration was around two weeks, although use ranged from a few days to several months.
Most lactation professionals recommend having a general plan for eventually weaning from the shield. There is no set deadline for when you should stop using one.
If you’re wondering when or how to stop using one, talk with a lactation consultant. The right approach depends on why you started using a shield in the first place.
Will a nipple shield affect my milk supply?
The research on the impact on hormone levels is reassuring. Studies comparing mothers feeding with and without a nipple shield found no significant difference in prolactin or cortisol levels.
Milk supply ultimately responds to how effectively and frequently milk is removed. So the bigger question isn’t simply whether you’re using a shield, it’s whether your baby is effectively transferring milk through it.
A well-fitting, thin shield that is used correctly should support effective feeding. A poorly fitting shield, however, can make milk transfer less effective, which may affect supply over time.
This is another reason getting the fit right is so important, and why an IBCLC can be a valuable resource if you have concerns.
What if my baby won’t latch without the shield?
This is common, and it doesn’t mean you’ve done anything wrong.
If you’d eventually like your baby to latch without the shield, it can help to offer the breast without it when your baby is calm and not extremely hungry. Starting with some skin-to-skin time before a feeding can also help.
The goal isn’t to force the transition. It’s to give your baby opportunities to practice without creating additional stress for either of you.
One last thing
A nipple shield can be a really helpful tool—but finding the right fit and making sure your baby is effectively transferring milk are the most important pieces.
We always recommend working with a lactation professional when using a nipple shield, especially if you’re unsure about sizing, latch, or milk transfer.
And if breastfeeding is painful or your baby isn’t gaining weight as expected, please reach out to an IBCLC or your healthcare provider. You don’t have to figure it all out on your own.

Sources
-
Chow S, Chow R, Popovic M, et al. "The Use of Nipple Shields: A Review." Frontiers in Public Health, 2015. https://www.frontiersin.org/journals/public-health/articles/10.3389/fpubh.2015.00236/full
-
Cleveland Clinic. "Nipple Shield." https://my.clevelandclinic.org/health/treatments/22130-nipple-shield
-
La Leche League GB. "Nipple Shields." https://laleche.org.uk/nipple-shields/
-
Centers for Disease Control and Prevention. "How to Clean and Sanitize Breast Pumps." https://www.cdc.gov/hygiene/about/about-breast-pump-hygiene.html
-
The Untied Latch. "Nipple Shields: How to Size." https://www.theuntiedlatch.com/blog/nipple-shields-how-to-choose-size
We always recommend guidance from a lactation professional when using a nipple shield, to help make sure the fit is right and the feed is effective. If feeding hurts, or your baby is not gaining as expected, please reach out to an IBCLC or your healthcare provider rather than working through it alone.
This article has been medically reviewed and verified by Katie Clark, IBCLC
Katie is an IBCLC and founder of The Breastfeeding Mama. Katie specializes in complex milk supply challenges, pumping support, and prenatal preparation. She is dedicated to helping moms feel informed, prepared, and supported every step of the way.
Shop This Solution
Find your fit without guessing
All three sizes in one box, plus a sticker to keep your shield where you put it.
|
Perfect Fit Kit, all three sizes Shop the Kit |
Nipple Shield Stickers Shop Stickers |


